My chosen area for Level 6 is commercial photography.
This Still Life Project started with five
mini assignments they were split into different sections of still life module,
as the genre is huge. There was Food, Product, Documentary, Nature Morte and
Photo Montage. We were given two weeks per section and at the end of each two
weeks we had to produce a print for a group critique. This let us explore all the different areas
before making a decision for our learning agreement on what we wanted to go
into. It also helps with the derision of what path way has become more
appealing for next year, the fine art or commercial rout.
Our first assignment was food photography
with Richard Whitehead. As I had never done proper food photography before it
was good to learn all the little tricks of the trade such as have a bit box. I
started to gather a few things to put in it after every food shoot that was
done. Looking back at the first shoot that was done with the oranges just shows
how much you can progress with a bit of practice. Every shoot that was done I
would use a different lighting set up or a different camera to practice with. I
started with the Cannon 6D then made a small jump to a 5D. They were good to
start with as I was still getting the hang of styling the food and getting the
lighting right. Then I wanted to experiment with some new kit so I booked out
the phase one. It was pretty exiting to use, as it’s the all singing and
dancing camera. The difference in quality is noticeable as the detail that you
get with it is of an extremely high quality. I had also gone on to use the
Hasselblad with a digital back which was also very good but harder to get it
focused. For the group critique at the end I was given good feedback and
decided to do a few more shoots with the improvements. By doing this I have two
photos that I am really happy with for the final hand in.
Next was product photography, I was most
nervous for this one as in my mind a product shot had to be really technically
correct. We started with a practice shoot on photographing a white golf ball on
a white background and this was really difficult but with a bit of guidance we
got there in the end but it seemed to take for ages. Once I had done a couple
of “technically correct” photos we had a talk from Richi Leeson who made things
look much simpler and it’s not as scary. This made me want to get into gear and
start booking studio time to have a go at it. I bought in some on my things
from home and had taken photos of Richie’s session so I could recreate his
lighting. I got some good shots but still needed a lot more practice. I kept
booking out more studio sessions till I was happy with what I had done. By
going back to it again and again I started to really enjoy using the studio and
what I was starting to produce.
Then it was time to go into a more fine art
area with Documentary photography. We started by having a look at the work of
Raphael Dallaporta who had photographed the grenades but made them look like
perfume bottles. I had never really been aware of documentary photography
before I thought it would be like photojournalism or war photography. I started
having a look at some more artists that did this fine style documentary
photography. Most had a general them of soft natural lighting. This was also
what was specified in the brief, that we had to use natural light. I started to
rack a few ideas up and discussed a few with the class to what one I should do,
I decided to go with photographing bunches of keys. This idea came from seeing
people being portrayed through their possessions so I thought I would do the
same with peoples keys. It worked quite well it all looked a bit flat with the
natural lighting as I was trying to avoid shadows but actually it might have
given the photos some depth.
I wasn’t terribly exited about the
documentary photography, I wasn’t sure if it was because it was going into the
fine art area that I wasn’t sure about or just because I wasn’t that interested.
So when it came to Nature Morte I thought I better open my mind as it was going
to get very arty. We were shown a video by Ori Gersht ‘Big Bang’ and it got me
interested straight away and wanted to do a video even if it was a still life
project. I pared up with another student and composed a set up outside to set a
vase of flowers on fire. It was a bit disappointing but it was fun to have a
go. I then went on the creating a vanitas set up and was also not that
interested in it really but then I photographed a dead butterfly and this
started to spark ideas and I really started to enjoy the concepts of Nature
Morte.
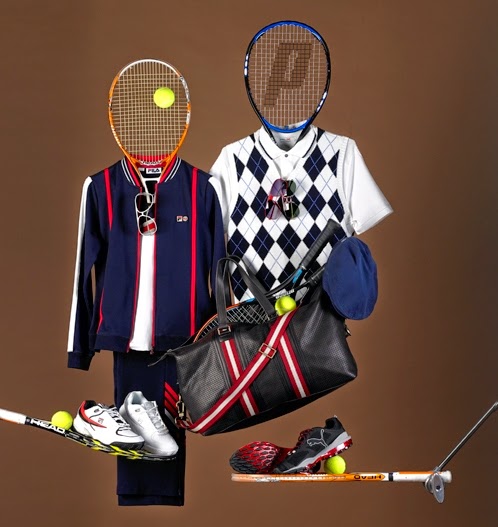
Photo Montage could fit comfortably into
fine art or commercial. I started by thinking of it as fine art only and kind
of put it off a bit as I was overthinking what to do for it. Then I came across
some photos in a magazine that were advertising products but that been made
into a montage and this gave me the idea for my final photo. I really enjoyed
being able to experiment and play around with everything till I had a achieved
something I thought was worth showing.
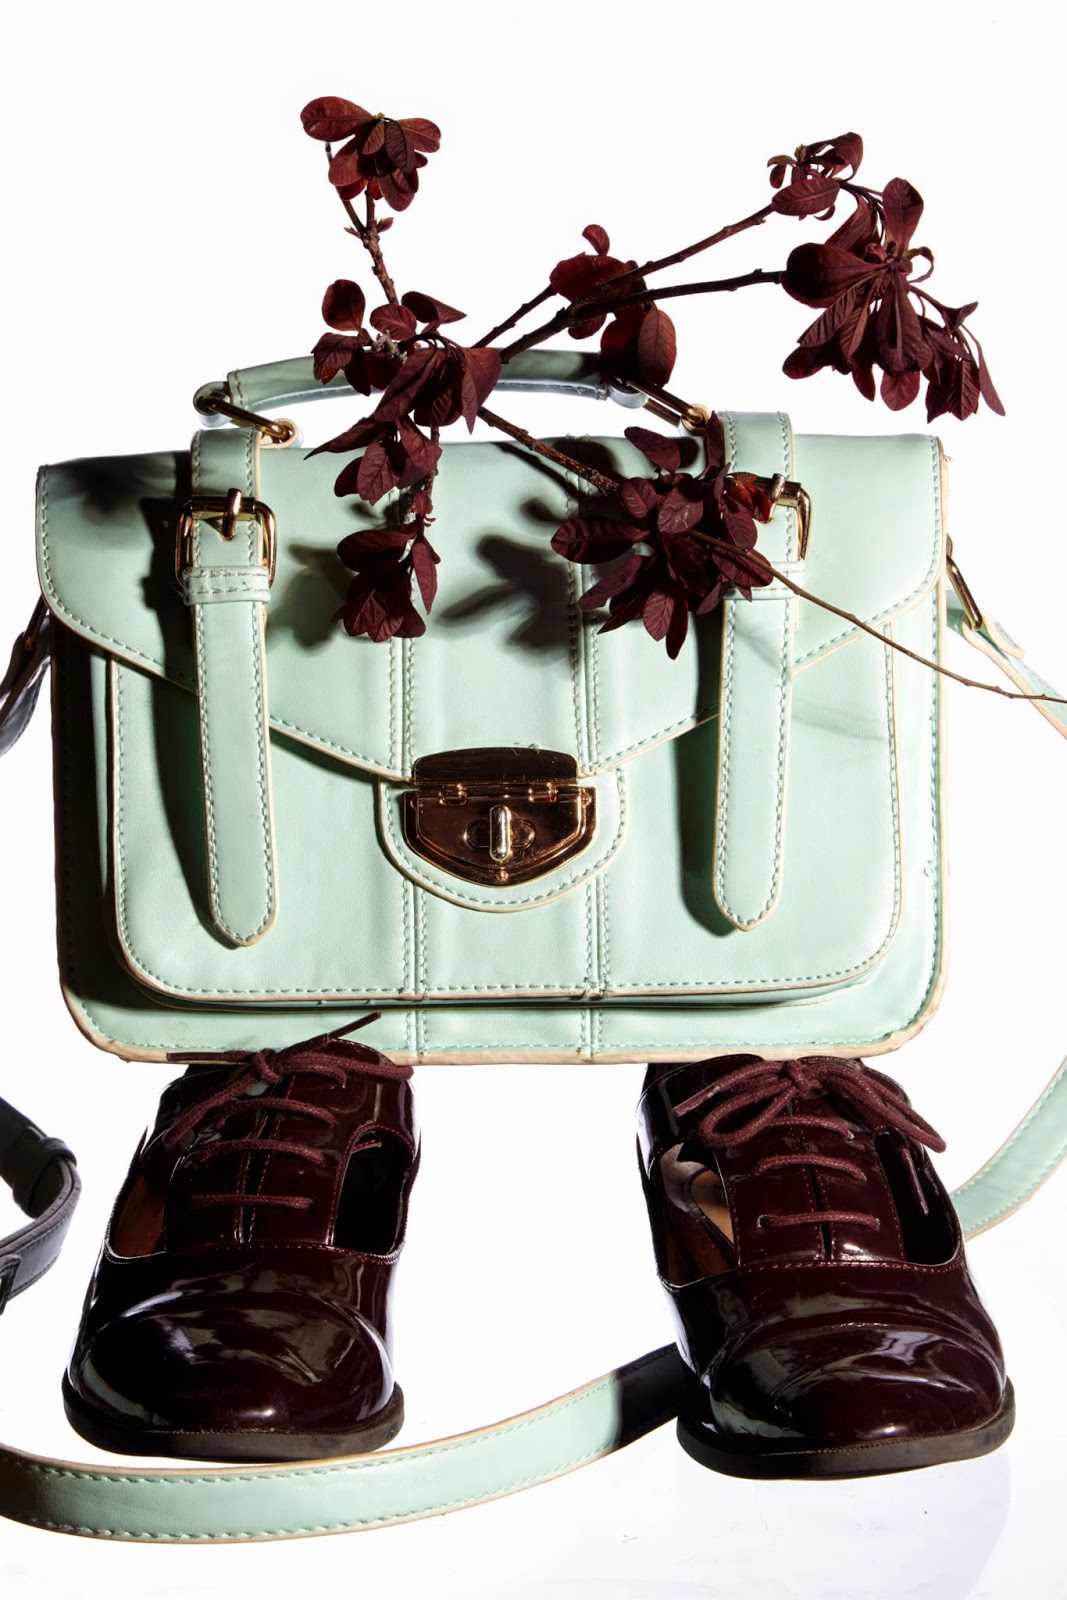
I had decided to expand on the product
photography for my learning agreement, as I still wanted to get better in the
studio. Before I went into the studio this time I would have a plan of what I
wanted to achieve in the sessions with am idea in mind. Most of the time once I started to mess
around and experiment with things the idea would change and I would end up with
something different witch was quite good.
I started looking at a theme for my collection of products and I had
slipped into a 90s light grunge feel by adding plants into my product shots.
I have really enjoyed all of the mini
assignments and learning about fine art and commercial photography has been a
real eye opener, I would like to thank all the tutors for there time in helping me make the derision for next year. My choice for next year is to go down the commercial rout
as I feel that I want to explore and push boundaries of product photography
further.


